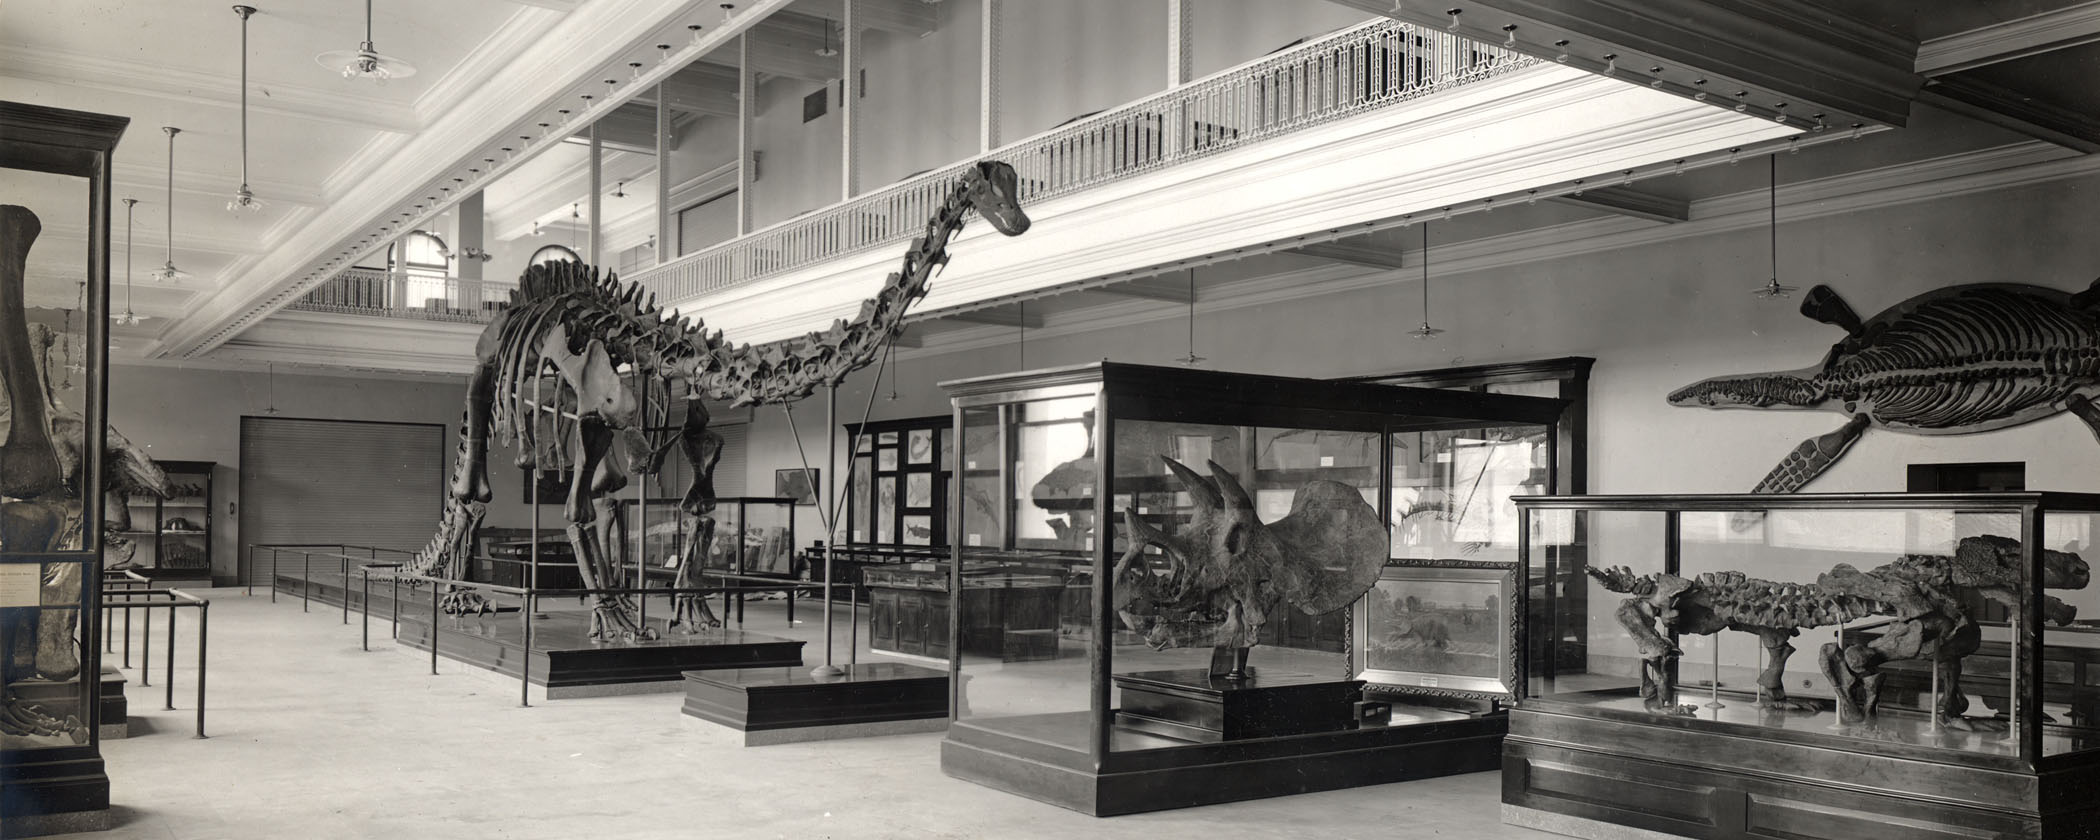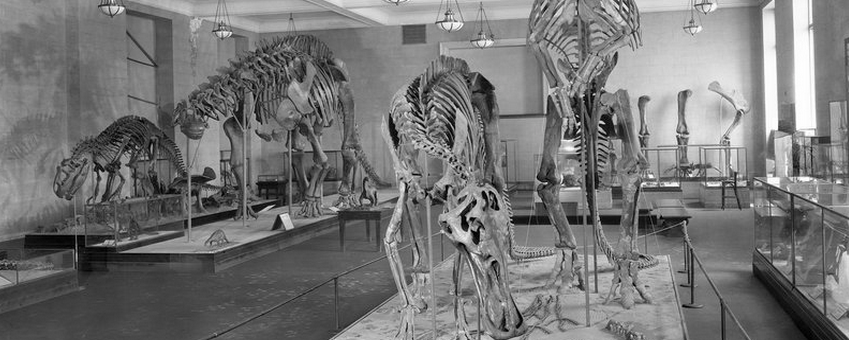


The primary team project for the semester will a construction a virtual "museum exhibit" (using PowerPoint to create pdf "slides") that describes and explains some group of fossil organisms, important fossil site, or an event of Earth history. These exhibits will be shown online on the course website (as pdf files), and available for other students and visitors to the site. As years go by, the "museum" will expand as classes add new topics to the galleries.
By the end of the the project your team will produce two deliverable graded items:
There are several steps for this project to get there. The first one is meeting with your team:
You will be randomly assigned to a team of 3-4 people in your section. (If the number students in your section isn't evenly divided by 4, there may be a few sections with just three in them; otherwise, it will be 4) Everyone in the team must do SOME comparable job (although you will likely divvy up the jobs: more about that below).
In Spring 2020, due to the complications of the COVID-19 pandemic, you were randomly assigned to a topic as well.
Once you know what your team is, you should plan on "meeting" with your group, and exchange information about how you will divvy up your tasks. (Obviously meeting in person is problematic for a multitude of reasons; you can use the Team Project's ELMS subpage to coordinate that, or use ZOOM/Skype/GroupChat/etc. To help coordinate this, you will fill out a team contract, scan it, and send it to the other members of the team. Once each person has signed this, one member of the team should upload a scanned copy to ELMS on April 6.
Each of your teams is preassigned a topic to research. So you don't actually have to do anything for this step!
The virtual Museum of the Fossil Record is be divided into multiple "galleries" (these are a Cenozoic, Mesozoic, Paleozoic, and Precambrian gallery.) Each topic fits into one of three categories: depending on the category, the kind of information that will go on your display will be different. Here are the different categories:
You need to research the background of your subject. Some of your best initial sources are Wikipedia (since these pages provide information about the ACTUAL sources), paleontology blogs, and recent review papers on the topic. However, for paleontology blogs in particular please note that there are sites by non-professionals and fringe researchers promoting their own idiosyncratic ideas that might not match up with our best knowledge of ancient life: when in doubt, check with Dr. Holtz about your sources. You might want to see if PBS Eons, SciShow, or other short documentary web series might say about the topic.
The best database for searching the peer-reviewed literature is Google Scholar. It is free; it is accessible everywhere; it has a vast reach into the literature. However, it is Google, so do NOT feel obliged to use the very first hit on the search: that may not be the best one!! Indeed, you probably want to check out a variety of papers.
(In some cases, Dr. Holtz may have given you some pointers at useful papers or videos on the Team Project ELMS subpage.)
By the way, since you are off campus and want to access a paper to a journal to which the University has a subscription, you can install the "Reload@UMCP" button on your web browser: check out this web page from the Library for more details.
Keeping Things Up-to-Date: As we have seen in classes, our ideas and understanding of the ancient world changes with new information. Towards this end, you don't want to be creating posters based on out-of-date information!! So for the most part you want to restrict your research sources to papers published in the last five-to-eight years if at all possible, and the newer the better. That said, there will definitely be some times (historical review; the subject hasn't been revisited lately; etc.) where you will have to use older sources.
You may want to divvy up the papers among all the members of your team, then pool your information together.
As mentioned above, your exhibit consists of two poster, each assembled in PowerPoint and saved as a pdf:
Several potential templates for your Display Poster will be provided on ELMS. Each would be a single-page PowerPoint slide. If printed out, it would be a 36" x 30" or 30" x 36" or 48" x 24": however, you won't actually be printing these. The required elements (Title; Class, Section, and Year indicators; List of Contributor names) are already on the template, but you will be creating the body content. Feel free to experiment with different font styles, colors, layouts, etc., so long as it remains clearly legible. For instance, you may find that have a border on your text boxes works for parts of the poster, but not for other parts.
As you work together, think about the information (pictures and text) you will need to convey the details you are expected to describe. Consider that museum exhibits and posters are inherently VISUAL media: focus on graphics to illustrate your topic (pictures of fossils and reconstructions; maps; charts; etc.) with sufficient text to explain it. We encourage the use of images, charts, and other graphics, keeping in mind at all times University regulations about plagiarism, proper citations, etc. Each and every such item must be properly referenced: at minimum, we expect to see a small caption from the source on the page. We most DEFINITELY expect to see illustrations when you are explaining taxa or fossil sites, and to see the graphics used in the analyses.
You will discover that you have less space to convey the information that you want to say than you think. Do not pad your text unnecessarily. In fact, you may want to use bulleted lists or "call out" text rather than full paragraphs in some cases.
Consider that your poster is the equivalent of a major term paper, and is held up to the same academic standards. Thus, we expect:
You will not have to have the bibliography or the detailed explanatory text on the Display Poster itself: it is a separate document. So it is best to use footnote reference style with the number corresponding to the paper in the bibliography. (We will show you how to do this in more detail in a Panopto online).
Some observations and comments:
It is important to divide up your responsibilities clearly in the project (for examples, maybe giving each person some subtopic to research and/or present; or some people writing responsibilities, others graphics/illustrations, still other general editors; whatever works for you.)
As you can see, this will take a fair amount of work.
ABSO-FRIGGIN-LUTELY do NOT put this off until the last minute (i.e., the night or weekend before it is due), because there is no reasonable way you will do a decent job on it in that case, and you will sink together collectively.
A draft of the Display Poster is due on ELMS by midnight April 27. Only one member of your team needs to upload the draft. Dr. Holtz will review these and give you suggestions for changes.
The final version is submitted as pdf files on ELMS by midnight May 4. Dr. Holtz will mount these on a new page on the main website soon afterwards.
You should create a second PowerPoint document that has the detailed explanatory text for the poster, as well as the bibliography of resources. A template is also provided for this. The bibliography should list all the resources you used to research your topic as well as the sources of your graphics. Make sure to use the GEOL204 Bibliographic Style if you want to get full credit for this.
With regards to the Bibliography: provide a complete list of sources you used, including videos and blog posts. You should give each reference a number: this will make it easier to cite these resources on the poster as appropriate. You can either arrange these in alphabetical order, or in the order they are referenced in the Display Poster and the explanatory text.
A draft of the Explanatory/Bibliography Poster is due on ELMS by midnight April 27. Only one member of your team needs to upload the draft. Dr. Holtz will review these and give you suggestions for changes.
The final version is submitted as pdf files on ELMS by midnight May 4. Dr. Holtz will mount these on a new page on the main website soon afterwards.
